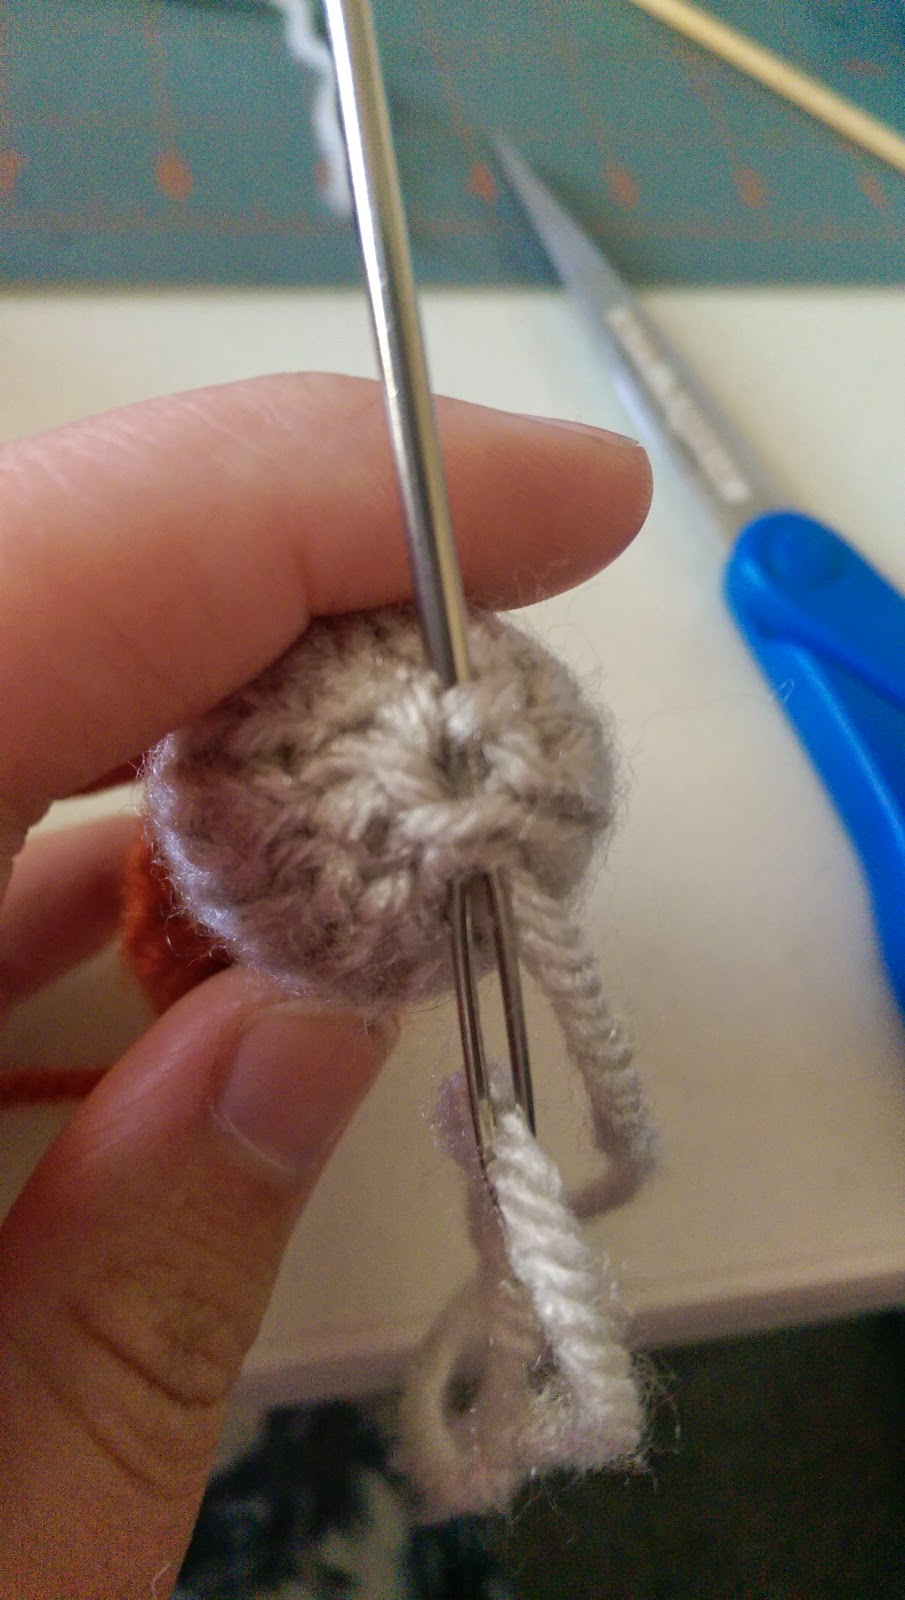
The first thing you'll need to do is to knit all of the pieces for your toy. Depending on the pattern, this may be lots of small pieces or only a few. The pattern I used had nine separate pieces, all of which (except the ears) I converted to knit in the round with double pointed needles. This is totally a preference thing, and I don't mind knitting in the round while I do definitely mind having to seam up pieces. When making small parts in the round, sometimes it's helpful to use only three needles (two holding the stitches and one working) and I also shuffle my stitches around a lot to prevent ladders of loose stitches and to accommodate decreases in the pattern. You could also use magic loop if that technique is preferable to you!
Another step I take while knitting my toy is to leave either the cast on tail or the bind off tail long enough to use for sewing the pieces together. For this toy, I left one arm and one leg tail very long so that I could use them to sew on the arms and legs without having to cut a separate piece of yarn and weave in extra tails at the end.
These two tips help to eliminate quite a bit of time and effort in the final assembling and finishing of your toy.
Once you're ready to assemble, gather all your materials in one spot. I used a tapestry needle, polyester fiber fill, safety eyes, a scissors, and some scrap black yarn. I find the process goes the most smoothly when I have a good size work surface to lay all my materials and supplies out.
Now onto the photos and tutorial!
The first thing I did was stuff the legs through the hole at the bottom of the foot. For a lot of the pieces on this toy, the hole for stuffing was pretty small, but I just use my thumb to work the stuffing into the toy in small clumps. Make sure you don't over or under stuff your toy, and that pieces in pairs (like arms or legs) have a very similar amount of stuffing in them.
Repeat these steps with the second leg!
After the legs, stuff the body from the neck opening. Make sure the stuffing is not clumped in one spot and that the body looks even. You may need to shape it a little after stuffing and then see if it needs more or less stuffing to get the desired shape and firmness you want for your toy.
Notice on this body, the increases and decreases show where the center of the body is, and this is important when putting the other pieces on the body if you want them to be centered. If I had knitted this flat, there would be a back seam, but since it's in the round I had to be more careful to find the the center of the body.
Next the legs are sewed on. The technique used in this pattern is really good in my opinion, and I think I would use it on other toys as well. First play around with the legs and the body to get them placed where you want them and make them even with each other and the center of the body. I usually don't pin pieces on because I'm a little lazy, but they're definitely not a bad idea if you want to be very particular about your piece placement. Next, using the long yarn end on one of the legs, I passed the needle through one leg, through the body, and then out through the other leg. Then I threaded the needle through the stitch below or above and passed back through one leg, the body, and the other leg. Go back and forth like this, making sure you are securing the leg in different areas.
The head is the most important part of the toy, because it really is what gives the toy a "personality" and taking time to make sure the eyes and ears are in the right position make all the difference in the finished product. I like to use safety eyes because I think they add a lot to the toy and I'm not the greatest at embroidering eyes, but most people don't consider safety eyes safe for small children (how ironic) so if you're going to be giving the toy to a baby you might want to embroider the eyes on.
First I stuff the head very loosely through the opening at the nose/mouth area on the head. It's much easier to get the eyes placed where you want them if the head has a little shape. Just don't stuff it so much that you can't get the fasteners on the safety eyes!
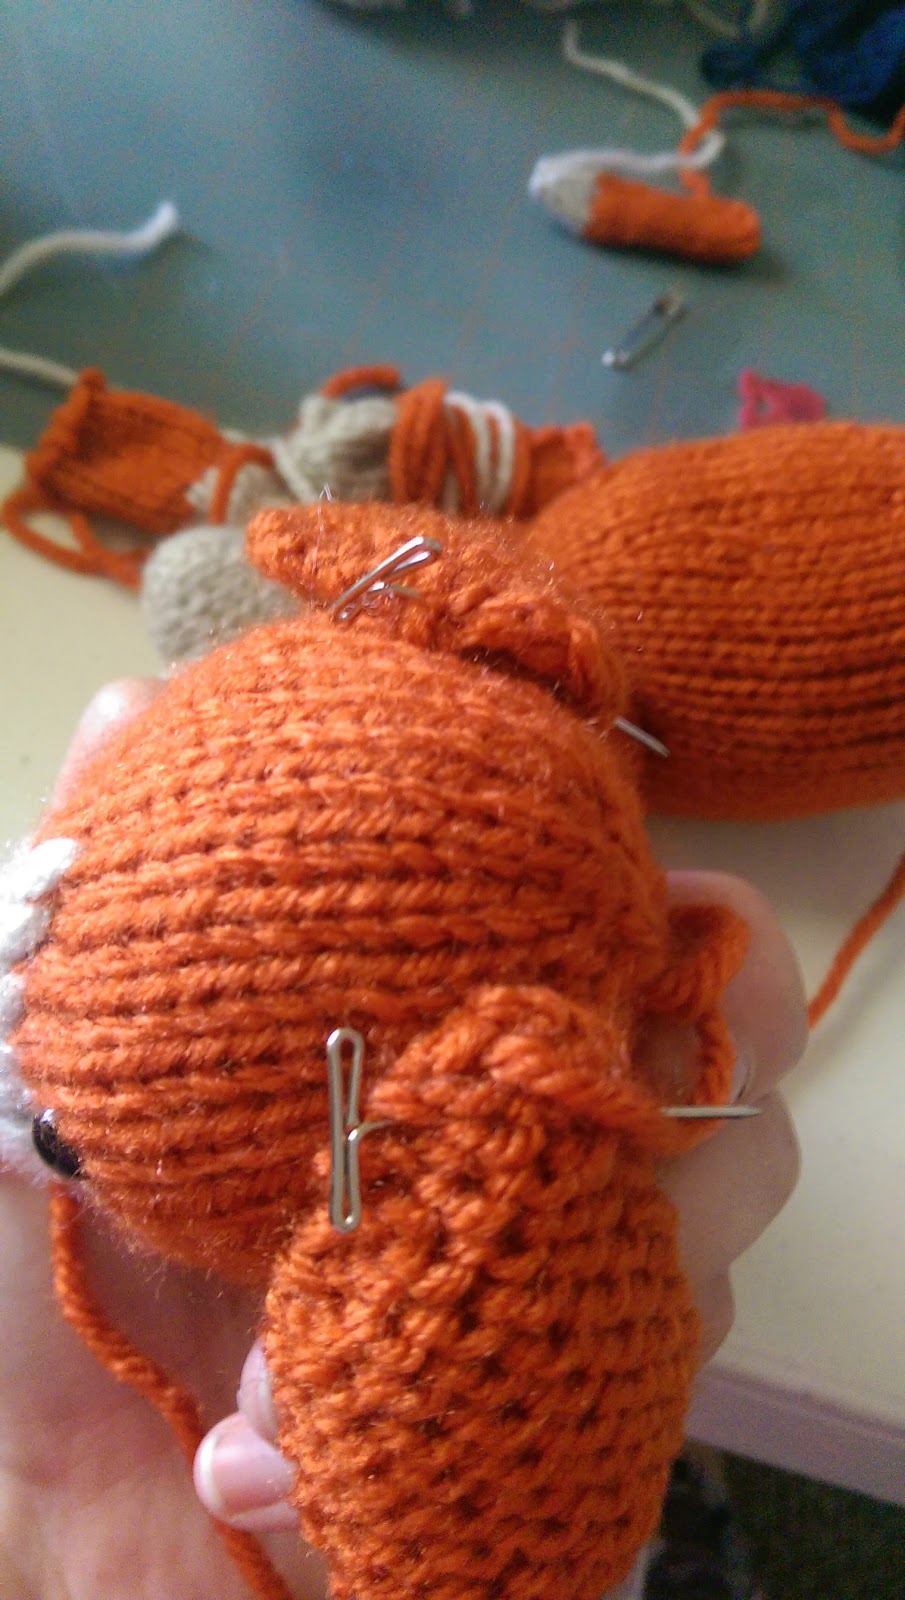
The ears come next, and in this case I do like to use pins. I also usually end up re-sewing the ears several times because it can be hard to get them even and in a good position! This time I didn't have to re-sew, though, so that was a nice change! I used mattress stitch again and it worked very well.
The nose can be embroidered in a variety of shapes and colors and sizes, I did a black triangle nose on this little dog. I usually try and embroider over the end of the tail so that it is secure underneath the finished embroidered nose and I don't have to weave it in to the head. With the other end, I threaded it under the nose and back a couple of times to secure it. Make sure you're happy with the nose, and don't be afraid to re-do it until you are happy! It will make a big difference in the overall look of the toy.
Then you can weave in the tail at the back of the head, I also used the tail to do a little more shaping around the eyes like I did with the muzzle.
Phew! Now you are done with the most difficult and important part (in my mind anyway) and we can attach the head to the body. Make sure you have it positioned how you want it, and then mattress stitch away! Keep in mind the head doesn't have to be perfectly straight, a slightly cocked head can add a lot of character and interest to your toy!
The toy is really coming together at this point! Make sure you're happy with all the placements and pieces so far, and don't be afraid to do something over if it doesn't look good to you.
Weave the end through the arm into the body and you're done with the arms!
Last but not least is the tail! I stuffed mine very lightly and then mattress stitched it on.
Now you're all done, assuming you've got all the pieces securely sewed onto your toy and the ends woven in! Hopefully you're pleased with your result, but if not, take the time to go back and fix it so you are happy! I often need to set aside a project or take a break from it for awhile until I'm less frustrated, and then I don't mind re-doing some of it and it's usually well worth the extra time I took.
I hope this tutorial was helpful for you! If you have any additional questions, feel free to comment or message me on Ravelry and I'd love to try and help you. There are no hard and fast rules to making toys and you should always feel free to assemble and finish your toys in whatever way looks best to you! Happy knitting!
.jpg.jpg)


No comments:
Post a Comment