Monday, October 20, 2014

Tutorial - How to avoid a thumb gap in mittens or mitts!

Although I really do love the mittens I knitted for myself two winters ago, the one thing about them that bothers me is that they have a little hole where I joined the thumb together in the round after picking up stitches.

Since I've knit those mittens, I've picked up a few tricks and I'd like to share with you guys my method for getting rid of that pesky gap. This tutorial goes along well with my new pattern, Slither Fingerless Mitts!

Here we see the "gap" that results after picking up stitches for the thumb - this is where we would join in the round for the thumb.


Here's what it looks like if you just knit the next stitch and join in the round - a little hole that you could sew closed later, but I prefer to fix these things while knitting because I always feel little lazy with finishing.


In order to fix the gap, I'm going to "pick up" one leg of a couple of stitches in the row below where I'm currently knitting, and then knit those two "legs" together with the first stitch on my needle, which happens to also be the first stitch in the round.


Ta-da! No more icky hole to let in cold air or to worry about later! Now you can be lazy with your finishing just like me!


Happy knitting!

Pattern - Slither Mitts


The inspiration (and name) of this design comes from snakes and their movement - hence the zig-zag or "slithering" mock cables. The zig zags are made with Right and Left Twists, which are easy to do without a cable needle, so the mitts can be done in no time at all!


Materials :

  • approximately 50 grams of worsted weight yarn (depending on how long you want your mitts to be) 
  • US size 6 and 7 double pointed/circular needles (or size to obtain gauge) 
  • Small stitch holder or waste yarn
  • Stitch markers 
  • Tapestry needle to weave in ends
Gauge : 4.5 stitches per inch in stockinette

Size: Women's S/M  - adjust gauge in order to make a smaller or larger size!

Stitch guide : 
  • M1R - Make One Right
  • M1L - Make One Left
  • Tutorial for M1 increases here!
  • RT - Right Twist
  • LT - Left Twist
  • Visit this blog for detailed instructions on how to work these stitches!


Pattern :

Cuff/Wrist :

With size 6 needles, CO 40 sts and join in the round. 
Work K2P2 ribbing for 9 rounds
Switch to larger needles and work following rounds once (add or subtract to make shorter or longer mitts!) :
  • Round 1 : [K2, RT] rep. around
  • Round 2 and all even numbered rounds : knit around
  • Round 3 : K1, [RT, K2] rep. around
  • Round 5 : [RT, K2] rep. around
  • Round 7 : [LT, K2] rep, around
  • Round 9 : K1, [LT, K2]
  • Round 11 : [K2, LT]
Gusset :

Next round : K4, PM, M1R, K1, M1L, PM, M1L (in order to have correct number of stitches for zig zag pattern), K to end
Work in established pattern for two rounds
Next round : Work in patt. to marker, SM, M1R, K to marker, M1L, SM, work in patt. to end of round
Repeat increase round every 3rd row until there are 13 stitches between markers, then work in pattern 1 round

Separate thumb : 

Next round - work in patt. to marker, slip 13 thumb stitches onto marker or waste yarn, then backwards CO 4 sts and join in the round. 

Hand :

Work in established patt. for approximately 2 inches, finishing with Round 5. 
Switch to smaller needles, and work in K2P2 rib for 3 round
BO in K2P2 pattern


Thumb :
(See my tutorial here to avoid a gap after between the hand and thumb!)
Place 13 stitches from holder or waste yarn onto larger DPNs, then pick up 3 stitches in gap
K around for 6 rounds
Switch to smaller needles and work in K2P2 rib for 3 rounds
BO in K2P2 pattern

Wear your mitts and be fabulous!

Please let me know if you have any questions or see any mistakes in the pattern!

(Special thanks to Monty the ball python for being a lovely and cooperative model!)


Thursday, July 10, 2014

Finished Object - A Menagerie!


I finished these animals a couple weeks ago now, and for some reason didn't get around to photographing them until just today. It really isn't that I've been too busy, either, so I guess I don't really have a good excuse for not doing it sooner!!

All of these guys were fun to knit, and making them was a little addicting - as you can tell from the fact that I made them one after the other! Knitting each of the parts gets a little tiresome, but it also gives the project some variety. I think finishing is probably both the most fun and the most frustrating step, because the look of the toy all depends on how you finish it. 

The dragon was the second one I made from this pattern, and he was a lot of fun. I did most of the pieces in the round after making Cotton Candy the dragon with the pieces all made flat. My seaming just wasn't very invisible on the body parts, and I prefer to knit in the round most of the time anyway. I like how the color pooling turned out on him, it was all pretty unintentional but the end effect is good. If I made one of these again, I would attach the arms like I did with the other animals. 


The white bunny is finished a little differently from the other animals since she was the first one I did in this style (although it is similar to the dragon). The eyes/face had to be redone, as I put the eyes way to far up on the face the first time around. I think it's a big improvement compared to the old face. I really love her eyelashes!


The gray and white bunny was fun to do, and I really like the effect that the contrasting color has on the toy overall. I wish I had put eyelashes on her, but I didn't have the thread for it when I put the eyes on her. I might be able to figure out how to do it without taking the eyes out and redoing the face, though! 


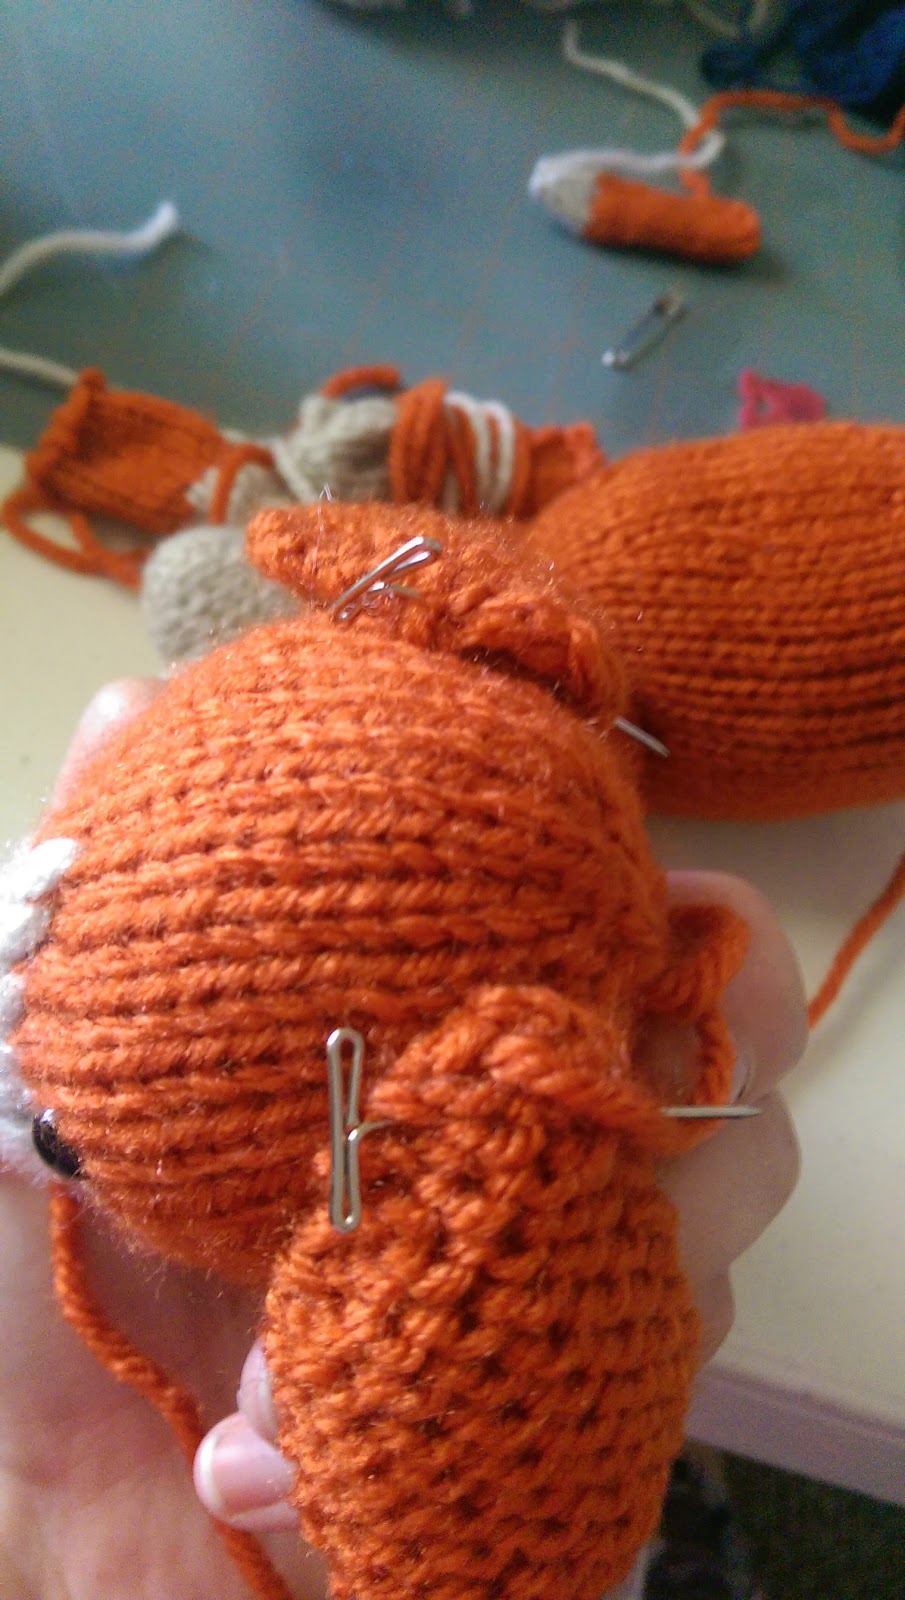
The fox is a mash up of a couple of different patterns. Originally, I was intending him to be a rabbit, but the red-orange and white was just too fitting for a little fox! The body and limbs are from the rabbit pattern, and I used the tiger pattern for the face, just without the black stripes. The tail and the ears were both improvised. I'm really pleased with how he turned out! 


For the dog I used the same yarn as the fox, and I think they make a cute little fox and hound pair! Maybe a little too match-y, though, haha! I think I might end up redoing the face later, the stuffing seems to be wonky or something because his head seems a little oddly shaped depending on the angle. I did a whole tutorial on how I assembled the dog, and other than the head I think he's probably the best of the toys in terms of assembling/finishing. 


The clothes were also really fun to make, and I'm planning on making more soon! I improvised the light blue dress and cardigan, and the other two are from Barbara Prime patterns like all of the animals. The sweater and navy dress are kind of hard to get on and off, I think I would do some sort of a button closure next time to make it a little easier.


I think I might be feeling another little toy making spree coming on, next I think I'll make a kitty and maybe another dragon or fox! If you're interested in any specifics for the yarn or needles used in these projects, just check out my projects page on Ravelry!


Thursday, July 3, 2014

Work in Progress - Looking Back Pullover

I'm finally starting back up again on my Looking Back pullover. I put it aside for awhile because I had the urge to make lots of knitted toys for whatever reason, and now after looking through some different clothing patterns I feel like I'm ready to go back to working on sweaters for a little while.


I finished the sleeve today, and I'm really pleased with the fit of it. I ended up kind of improvising the sleeve shaping and decided to do 3/4 sleeves since this sweater is made with a cotton/bamboo blend that I think will be great for warmer weather.


The fit of the sweater is a little baggier than what I had intended on, although right now I think I like the way it's fitting. I think it'll definitely need to be blocked because my stockinette isn't all that even in this loose of a gauge, so I'm really really hoping it doesn't grow too much from being blocked. 

I'm happy with the progress so far, and I'm excited to finish up this sweater and move onto the next one!

Wednesday, July 2, 2014

Tutorial - How to Assemble and Finish Knitted Toys / Amigurimi

Today I'd like to share with you guys how I assemble my knitted toys. In this tutorial I'm using the Pupster pattern by Barbara Prime, but this tutorial has a lot of general tips and tricks that could work with any amigurimi or knitted toy. 


The first thing you'll need to do is to knit all of the pieces for your toy. Depending on the pattern, this may be lots of small pieces or only a few. The pattern I used had nine separate pieces, all of which (except the ears) I converted to knit in the round with double pointed needles. This is totally a preference thing, and I don't mind knitting in the round while I do definitely mind having to seam up pieces. When making small parts in the round, sometimes it's helpful to use only three needles (two holding the stitches and one working) and I also shuffle my stitches around a lot to prevent ladders of loose stitches and to accommodate decreases in the pattern. You could also use magic loop if that technique is preferable to you!

Another step I take while knitting my toy is to leave either the cast on tail or the bind off tail long enough to use for sewing the pieces together. For this toy, I left one arm and one leg tail very long so that I could use them to sew on the arms and legs without having to cut a separate piece of yarn and weave in extra tails at the end. 

These two tips help to eliminate quite a bit of time and effort in the final assembling and finishing of your toy.


Once you're ready to assemble, gather all your materials in one spot. I used a tapestry needle, polyester fiber fill, safety eyes, a scissors, and some scrap black yarn. I find the process goes the most smoothly when I have a good size work surface to lay all my materials and supplies out.

Now onto the photos and tutorial!

The first thing I did was stuff the legs through the hole at the bottom of the foot. For a lot of the pieces on this toy, the hole for stuffing was pretty small, but I just use my thumb to work the stuffing into the toy in small clumps. Make sure you don't over or under stuff your toy, and that pieces in pairs (like arms or legs) have a very similar amount of stuffing in them. 


Next I sewed up the bottom of the foot using mattress stitch. Using mattress stitch makes the seam look neat and almost invisible. Just put your needle under the stitch horizontally.


Next I closed up and wove in the end of the yarn on the top of the legs. Since the legs (and many other pieces in this pattern) were finished by threading the yarn tail through the live stitches, it's good to make sure it's pulled tight and secure. I usually sew under the hole from several angles and then weave the ends in. 


Repeat these steps with the second leg!

After the legs, stuff the body from the neck opening. Make sure the stuffing is not clumped in one spot and that the body looks even. You may need to shape it a little after stuffing and then see if it needs more or less stuffing to get the desired shape and firmness you want for your toy.


Next close the hole at the bottom of the body with the same technique you used for the tops of the legs. When weaving in the ends, I like to pull the yarn through the piece then thread under the stitch below or above and pull through another part of the piece. I do this several times and it makes the ends really secure!


Notice on this body, the increases and decreases show where the center of the body is, and this is important when putting the other pieces on the body if you want them to be centered. If I had knitted this flat, there would be a back seam, but since it's in the round I had to be more careful to find the the center of the body.


Next the legs are sewed on. The technique used in this pattern is really good in my opinion, and I think I would use it on other toys as well. First play around with the legs and the body to get them placed where you want them and make them even with each other and the center of the body. I usually don't pin pieces on because I'm a little lazy, but they're definitely not a bad idea  if you want to be very particular about your piece placement. Next, using the long yarn end on one of the legs, I passed the needle through one leg, through the body, and then out through the other leg. Then I threaded the needle through the stitch below or above and passed back through one leg, the body, and the other leg. Go back and forth like this, making sure you are securing the leg in different areas.


Make sure you're pulling the yarn tight between passes through the toy. If you didn't stuff the tops of the legs really full, you'll get a little dimple in the top of the leg where it is connected to the body. I this this is really cute and adds to the toy, so I purposefully stuff less in the top of the leg.


 Weave in the ends through the body and your legs are secure! This technique also gives the legs a lot of movement so you can have the toy sit much easier. 


The head is the most important part of the toy, because it really is what gives the toy a "personality" and taking time to make sure the eyes and ears are in the right position make all the difference in the finished product. I like to use safety eyes because I think they add a lot to the toy and I'm not the greatest at embroidering eyes, but most people don't consider safety eyes safe for small children (how ironic) so if you're going to be giving the toy to a baby you might want to embroider the eyes on. 

First I stuff the head very loosely through the opening at the nose/mouth area on the head. It's much easier to get the eyes placed where you want them if the head has a little shape. Just don't stuff it so much that you can't get the fasteners on the safety eyes!


 Play around with the positioning of the eyes. Make sure you don't put the fasteners on until you're happy with the eye positions! 


 Once you've got the eyes positioned, pull the long ends of the eyes through the hole in the front of the head and attach the fastener. Repeat with the other eye. 


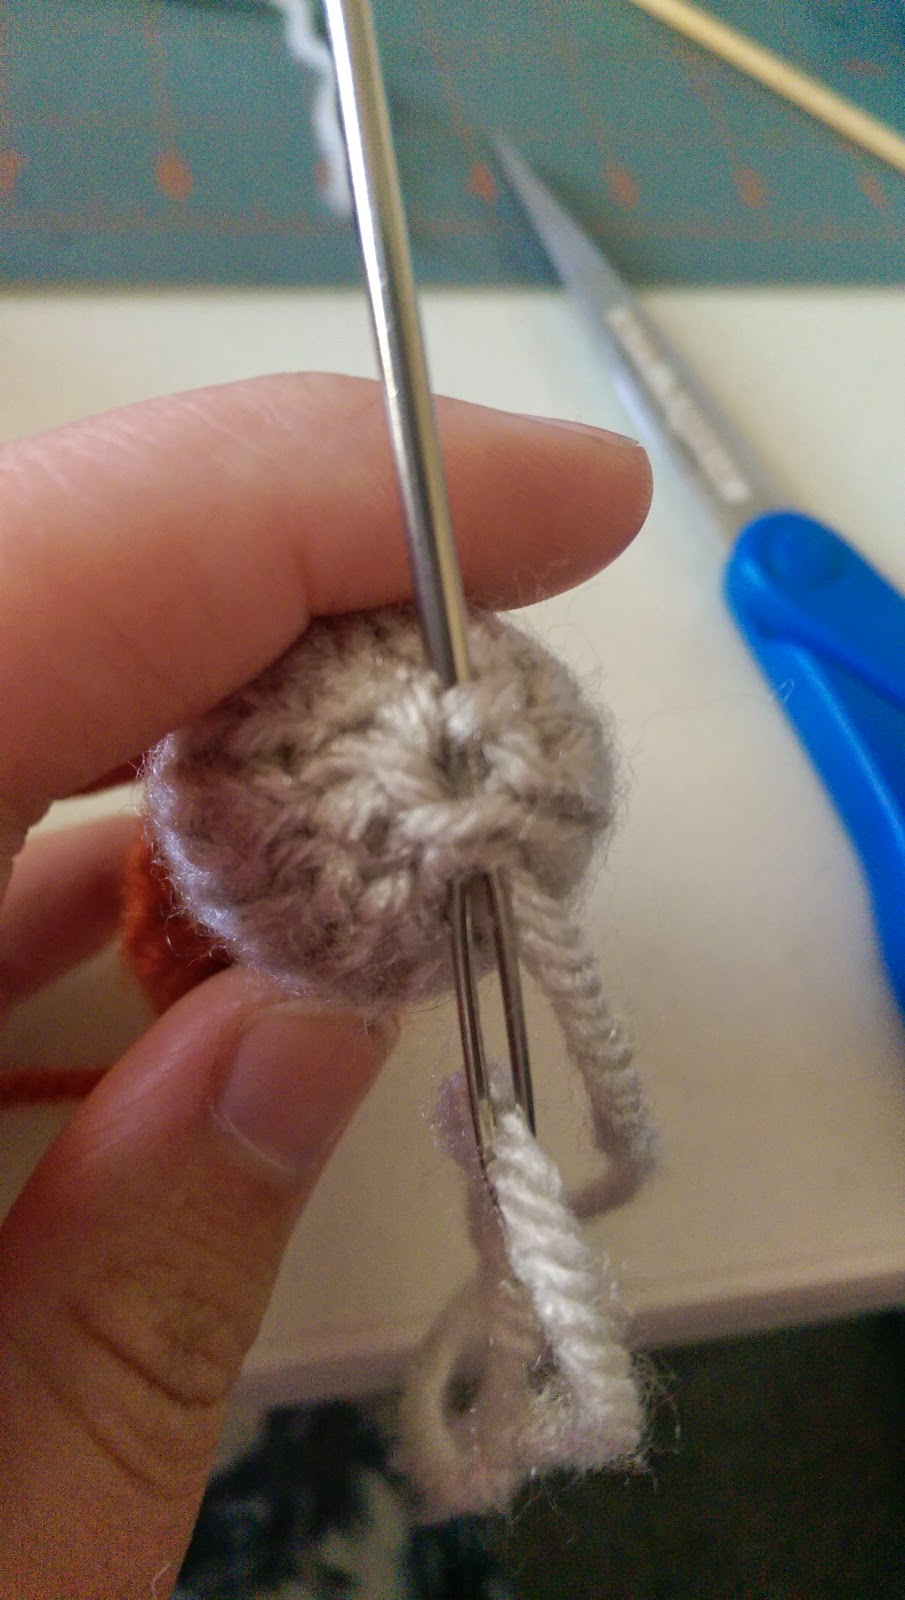
Pull the yarn tail tight and then close up the hole like you did with the top of the legs and the bottom of the body. You can also use the tail to shape the face by pulling it through stitches (I did it around the muzzle) and then pulling it tight until you get the desired shape.


The ears come next, and in this case I do like to use pins. I also usually end up re-sewing the ears several times because it can be hard to get them even and in a good position! This time I didn't have to re-sew, though, so that was a nice change! I used mattress stitch again and it worked very well. 


I like to deal with the ends on the tips of the ears by threading them through the garter ridges and then securing them in the head instead of trying to weave them into the ears. 


The nose can be embroidered in a variety of shapes and colors and sizes, I did a black triangle nose on this little dog. I usually try and embroider over the end of the tail so that it is secure underneath the finished embroidered nose and I don't have to weave it in to the head. With the other end, I threaded it under the nose and back a couple of times to secure it. Make sure you're happy with the nose, and don't be afraid to re-do it until you are happy! It will make a big difference in the overall look of the toy.


 Then you can weave in the tail at the back of the head, I also used the tail to do a little more shaping around the eyes like I did with the muzzle. 


Phew! Now you are done with the most difficult and important part (in my mind anyway) and we can attach the head to the body. Make sure you have it positioned how you want it, and then mattress stitch away! Keep in mind the head doesn't have to be perfectly straight, a slightly cocked head can add a lot of character and interest to your toy!


The toy is really coming together at this point! Make sure you're happy with all the placements and pieces so far, and don't be afraid to do something over if it doesn't look good to you.


The arms come next, I stuff mine pretty loosely so they don't look like little fat sausages, haha! Make one small ball of stuffing in the paw, and then another for the rest of the arm. Next weave in the ends on the paw and top of arm with the techniques from before.


 Notice that these arms have a certain direction and are not the same from all angles, so make sure they are in the right position for how you want them to look before attaching them. This uses the same technique as the legs, just pass the needle and yarn through one arm, the body, and the other arm and then go back and forth making sure the arm is secure. It can help to quick the arms to the body while you're sewing them on. You'll also get the cute little dimple and shaping at the top from pulling the yarn tight and having the top stuffed loosely.


Weave the end through the arm into the body and you're done with the arms!


Last but not least is the tail! I stuffed mine very lightly and then mattress stitched it on.


Now you're all done, assuming you've got all the pieces securely sewed onto your toy and the ends woven in! Hopefully you're pleased with your result, but if not, take the time to go back and fix it so you are happy! I often need to set aside a project or take a break from it for awhile until I'm less frustrated, and then I don't mind re-doing some of it and it's usually well worth the extra time I took. 


I hope this tutorial was helpful for you! If you have any additional questions, feel free to comment or message me on Ravelry and I'd love to try and help you. There are no hard and fast rules to making toys and you should always feel free to assemble and finish your toys in whatever way looks best to you! Happy knitting!